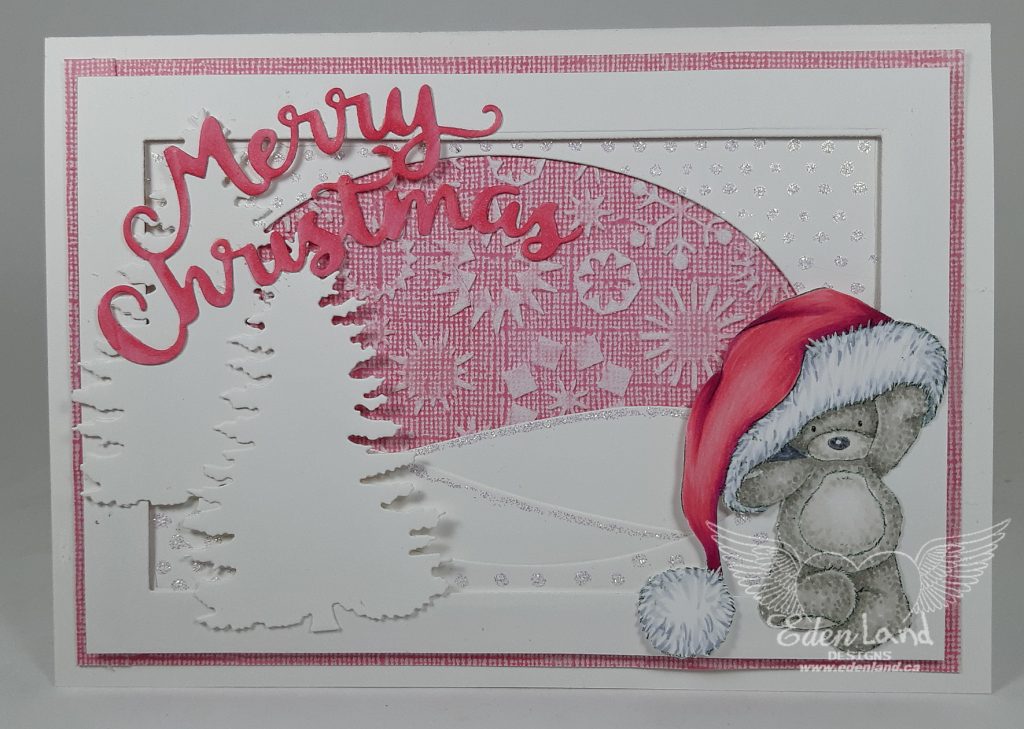
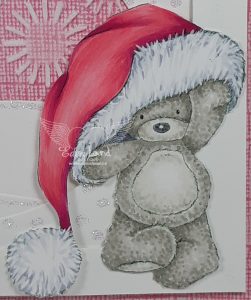
Hello there 🙂 The card I’m sharing today is a non traditional Christmas card, featuring an adorable image from Lee Holland. The color is what breaks it away from traditional, but what else could I use for someone who loves pink…and teddy bears?!? I colored the image, Teddy Christmas, with my Copics, then fussy cut it out.
I die cut multiple layers with oval, wave border and rectangle dies, and added some sparkly Stickle dots and edging before layering them over a snowflake embossed and sanded background piece. I added a couple die cut trees to the one side. This created a sweet winter scene for the bear. I finished off with a coordinating die cut sentiment.
Hi there 🙂 I was recently asked to make a wedding card for a friend’s son’s wedding. The bride and groom are both outdoorsy, so I wanted the card to be pretty, with a bit of a rustic feel to it. This one is quite different for me, as it has no image! I started off by choosing a wood pattern background paper. I love the look of wood and lace together, so cut 2 lacy doilies with a die from Scrapman. I overlapped the two a bit, trimmed the edges, and wrapped a piece of twine around it. I arranged a bouquet of flowers in the centre, and tucked in a twine bow. A die cut sentiment finishes off this card for the special couple.
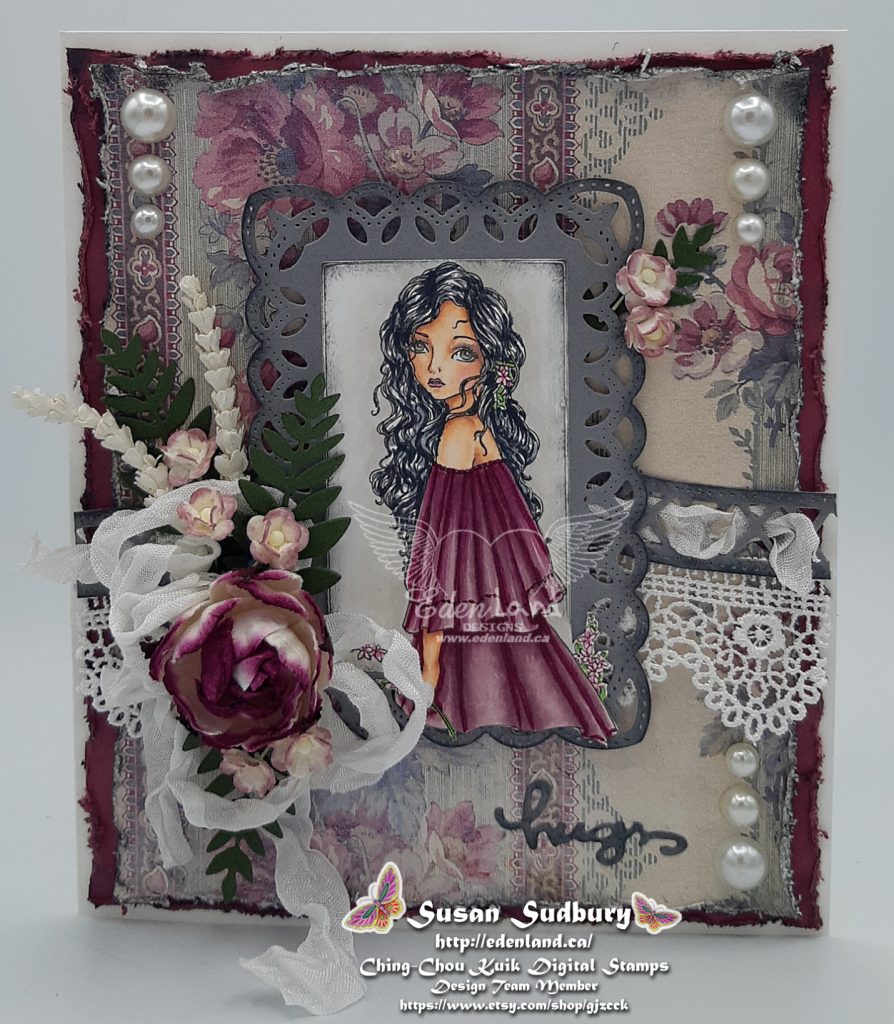
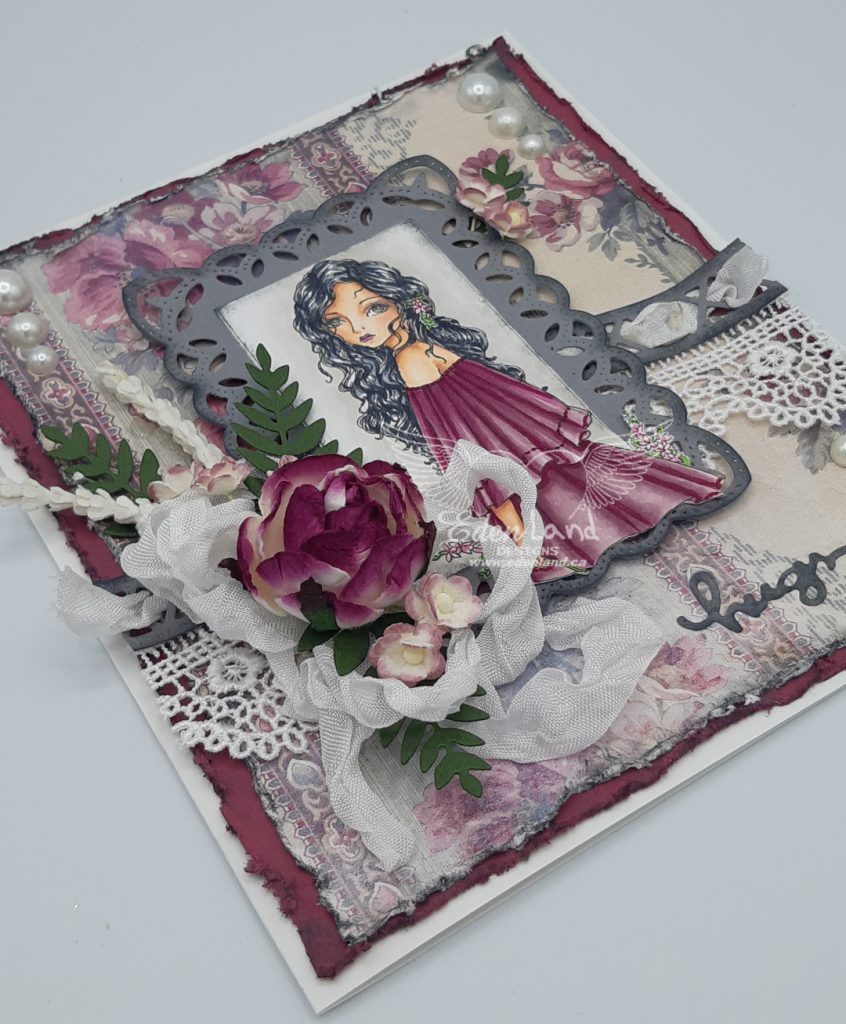
Hi there!! As Sunday rolls around again, I’m looking forward to a peaceful holiday from work, a staycation, and I hope to have a lot of crafty time! It’s time for me to share my second inspiration for the Ching-Chou Kuik Facebook Challenge. Our theme this month is Use Die Cuts and/or Punches. This week, the DT was given an extra challenge, and that’s to implement the Shabby Chic, Vintage or Dostressed style in our creations. I picked Spring Wanderer for my card, as I thought she had a dreamy, old fashioned look to her. I colored her with my Copics, partially fussy cut her, then inked the edges of the image with Distress Inks. I placed this on a lacy die cut, that I’d also inked the edges of.
I’d picked the background papers before coloring the image, so I could match up shades. I distressed the background with a distress tool, and matted it with a plain piece of cardstock that I’d also distressed. Before layering them, I added a bit of inking to their edges. I die cut a border, inking the edges again, and wove some crinkle ribbon from DL Art through it and placed it over a piece of lace. I layered all of this, then added a bow that I tied with the same crinkle ribbon and a bouquet of flowers from my stash, accented with some die cut leaves. I finished of with some pearls and a die cut sentiment.
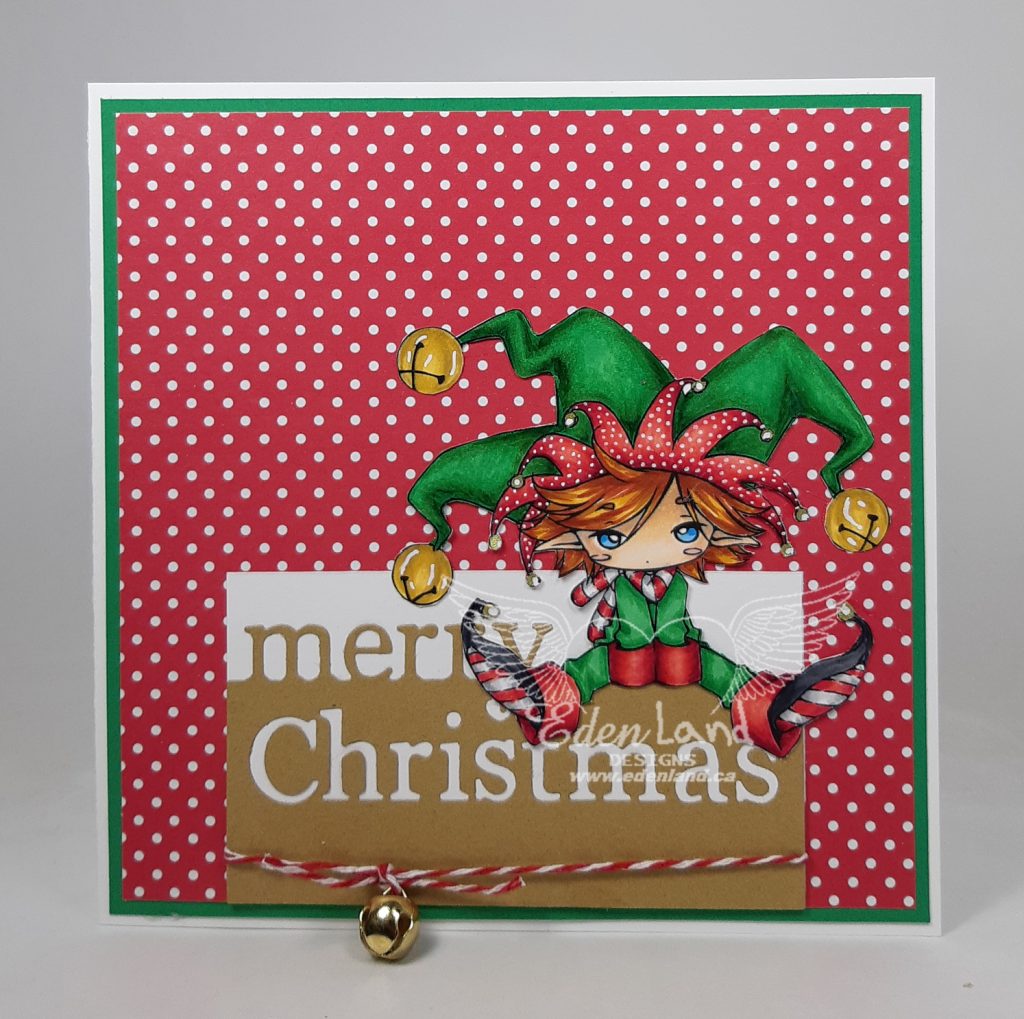
Hello there 🙂 I have another Christmas card to share today. I used a cute elf from Make It Crafty, which has sadly closed up shop. Thank God I managed to get quite a few images while I still could, now I just have to use them! Lol. I colored this little guy with my Copics, adding accents and dots with a gel pen, then fussy cut him out. I kept the design of the card fairly simple, only using a die cut sentiment for the elf to perch himself on and tied a piece of twine with a jingle bell on it. Then placed everything on a sweet dotted background paper.
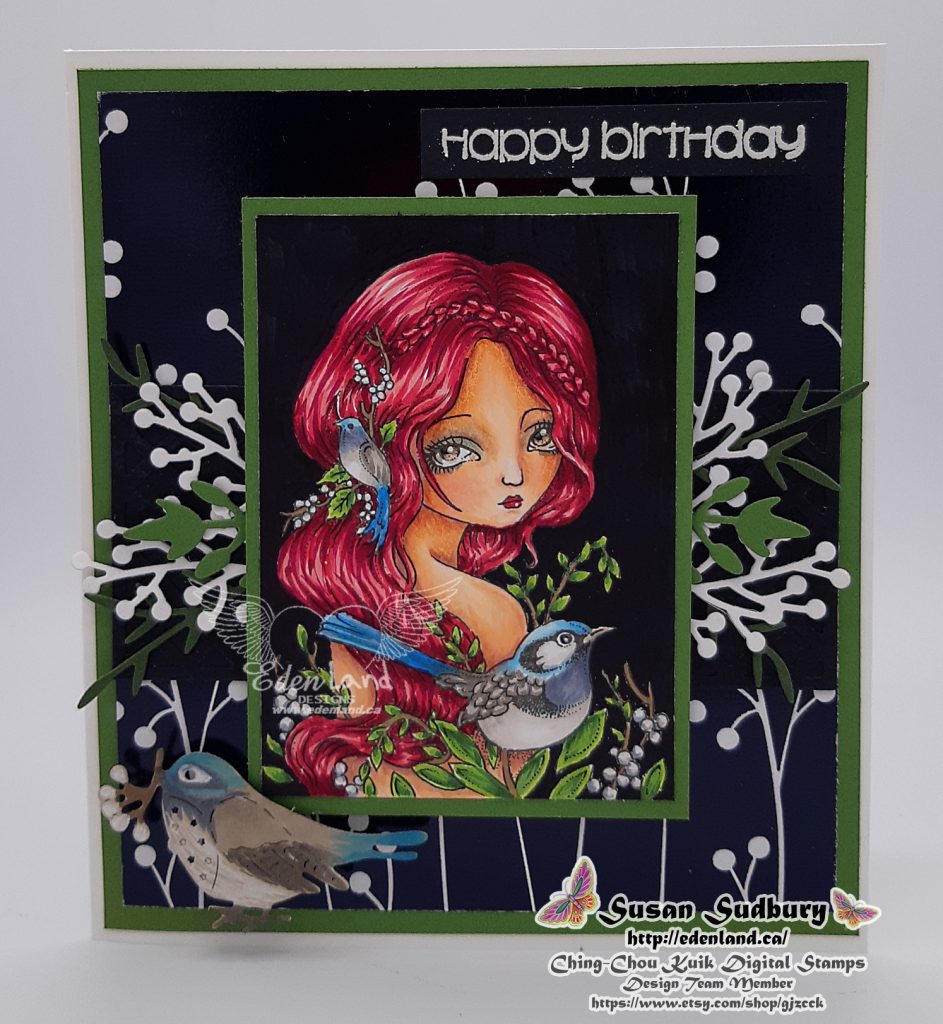
Hi there 🙂 It’s Sunday again, and that means it’s time for me to share my first inspiration project for the Ching-Chou Kuik Facebook group challenge. Our theme this month is an easy one, Use Die Cuts or Punches or Both. I chose the gorgeous Fairy Wren image to use on this card. I colored her up with my Copics, keeping the berries white, to coordinate with the paper I had decided to use.
I die cut a bird, which I colored to match the ones in the image, then fiddled around with a layout. I die cut a black lattice piece, that I layered over the background (you can barely see the lattice in the picture, but it’s there ….really!!) I also die cut some branches, leaves and berries to tuck in beside the image. I stamped and embossed the birthday sentiment, then popped up the bird in the corner 🙂
I’d like to enter this in the following:
Allsorts Challenge – Week 580 I Spy With My Little Eye, something beginning with “B” – bird, berries, branch, birthday, black
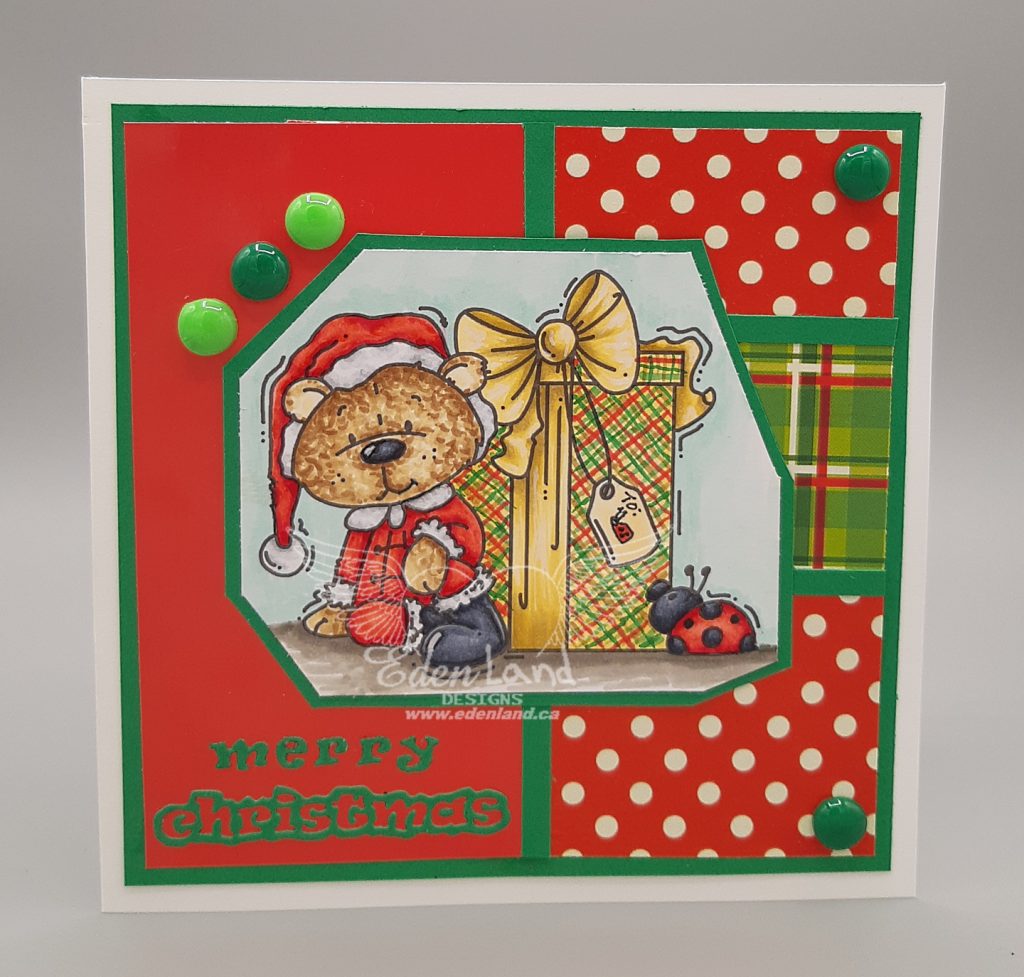
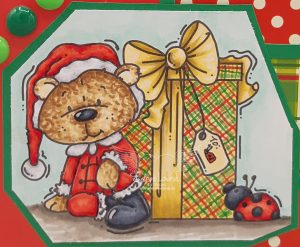
Hello! I’m sharing my inspiration card for the current ATG challenge at Creative Fingers. Our sponsor this time is the one and only Bugaboo Stamps 🙂 (and an extra prize from Angelique!) With so many adorable images to choose from, it was a hard decision as to which one to work with!! I settled on Theodore’s Christmas Present, so I can add another card to my Christmas stack. I colored him up with my Copics, then cut the image out with some wonky angles.
For the background, I went into my scrap bin, and chose some coordinating pieces. I used the same green card stock that I matted the image with to separate the background pieces. To finish off, I added a die cut sentiment (the cut and the negative parts), and some embellishments that I made by melting plastic beads.
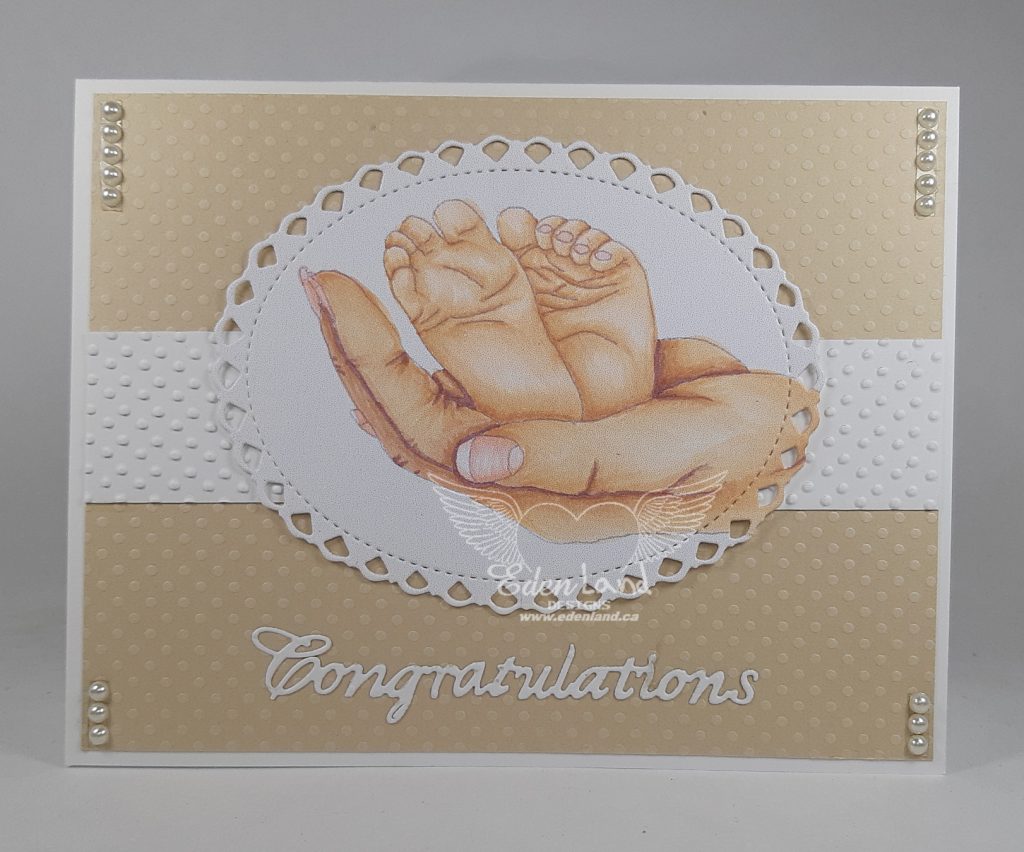
Hi there! I was asked to make a baby card, but it had to be gender neutral, as the parents didn’t find out the gender. I’ve had this sweet image, from Ike’s Art, appropriately named New Baby, for quite some time. I printed it light, so I could do the “no lines” technique with my Copics.
I die cut the image out, then layered it with some neutral, dotty textured, card stock. A die cut sentiment and some pearls were all that was needed to finish off this sweet and simple card.
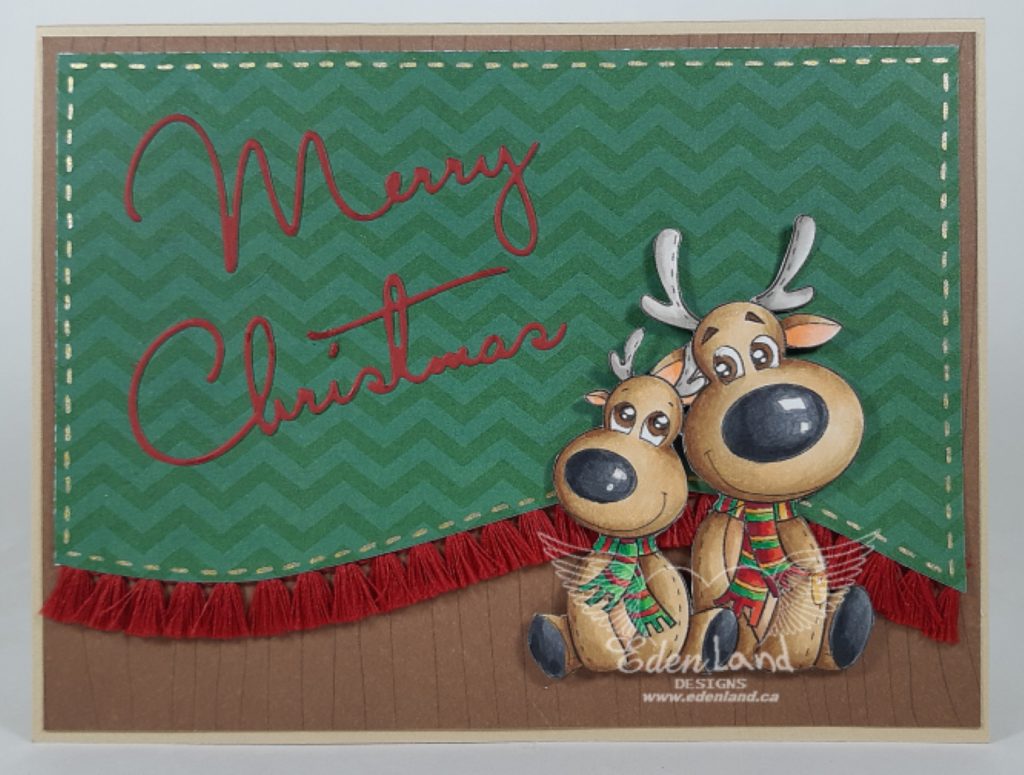
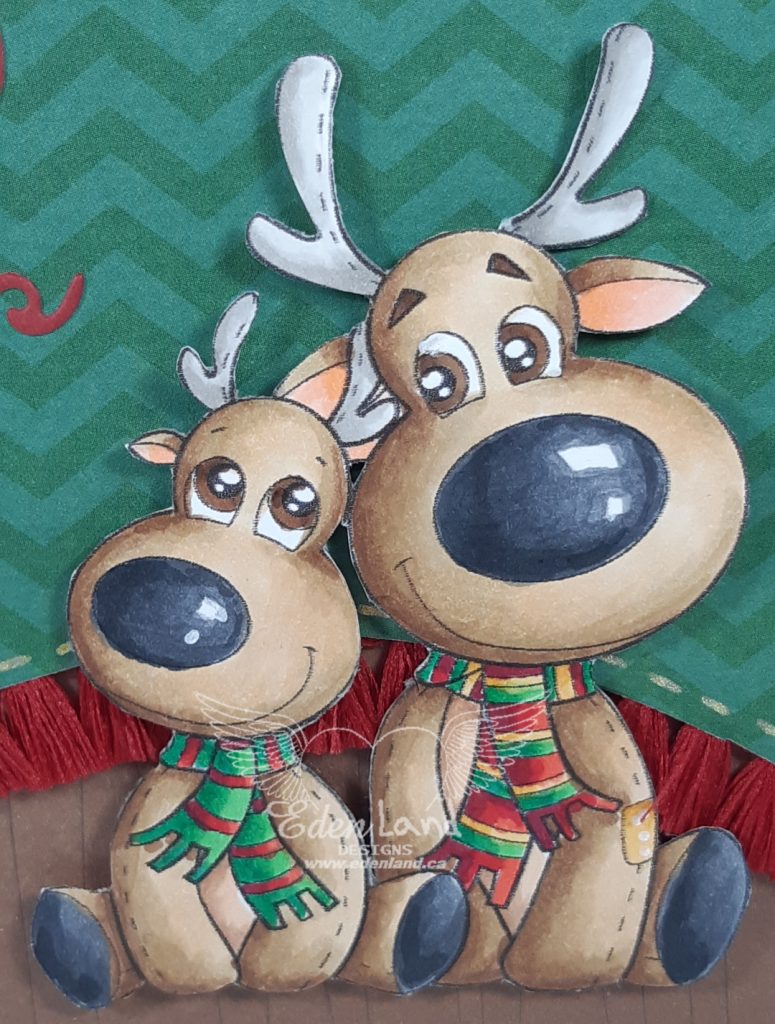
Hi there 🙂 With all the Christmas in July festivities, I can’t resist joining in the fun 🙂 I made this cute card using the adorable reindeer image from Alicia Bel, called Rino and Reno. I colored them up with my Copics, then fussy cut them out.
I die cut a wavy edge on a piece of green print paper, and added some doodled stitching along the edge. I’ve had this cool fringe trim for some time, and it was a perfect addition to this card, adhered to the underside of the curve. I layered this into a piece of woodgrain print paper, then added the die cut sentiment. Finally I popped on the image with some foam adhesive. Even with this bit of dimension, the card was still flat enough to mail with a single stamp! 🙂
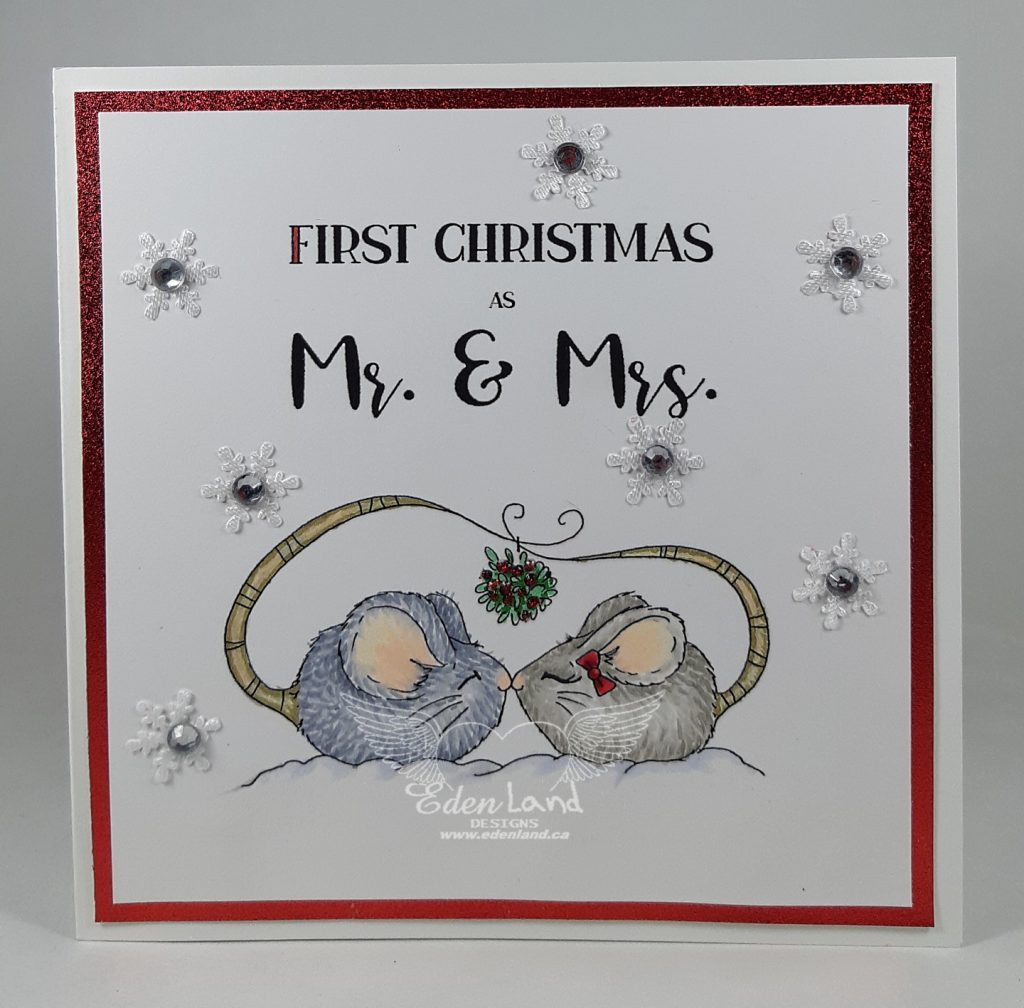
Hi there 🙂 Well, now that it’s started to feel like summer, I figured I’d share a cute Christmas card that I made for a special couple! I used a digital image from The Stamping Boutique, which has, sadly, been closed for some time now. I thought these 2 mice, which I colored with my Copics, were perfect for a first Christmas creation! I added a sentiment before printing the image up. The design was kept very CAS, as I only added some snowflake embellishments, centered with adhesive rhinestones, then matted everything with some shiny red cardstock.
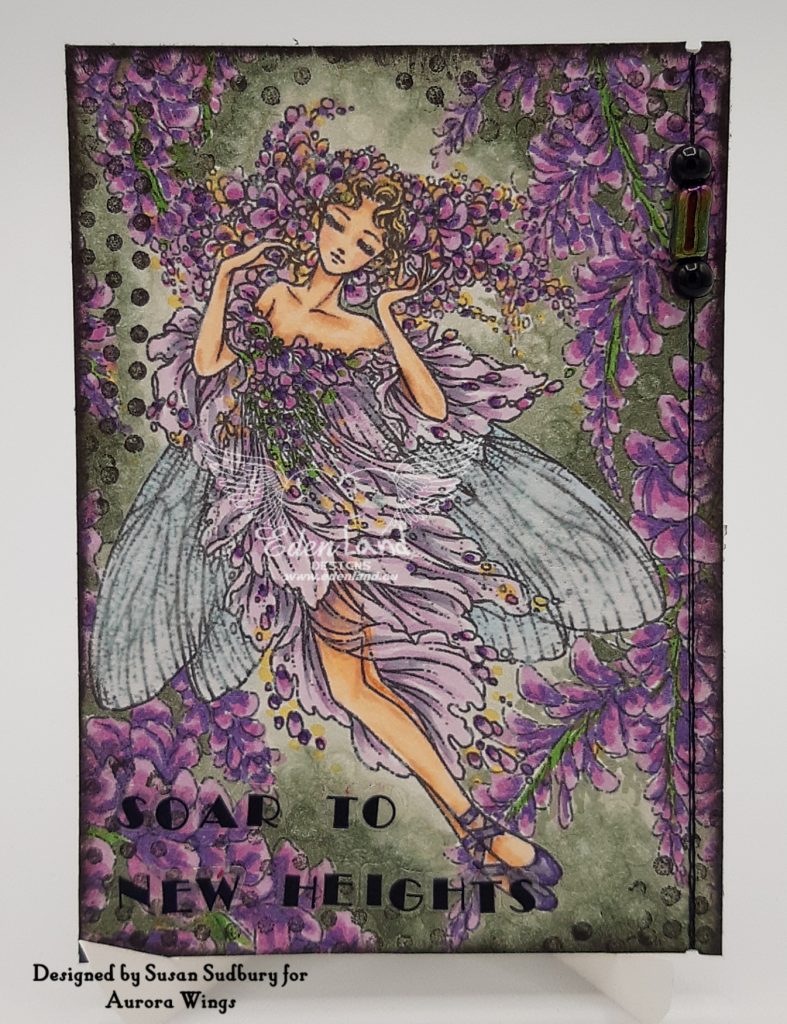
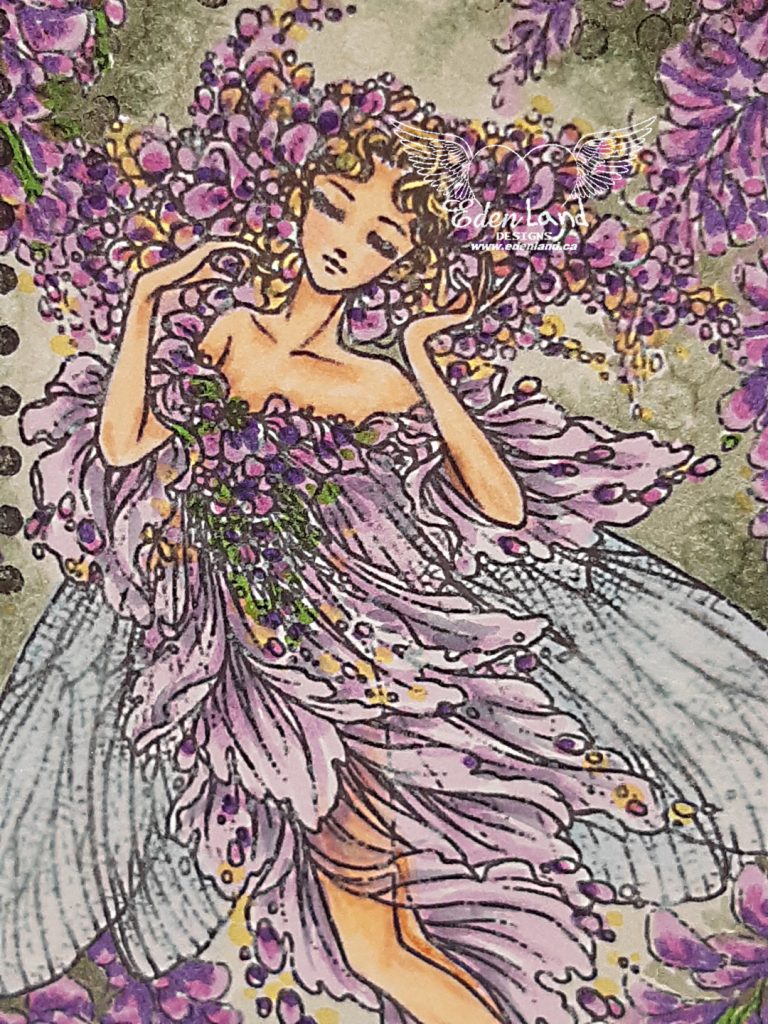
Hi there 🙂 I hope everyone is doing well, and managing to find time to do the things you love 🙂 Today I’m sharing an inspiration project for the challenge at the Stamps by Aurora Wings Facebook group. We love to see anything that you make, or have made in the past….which is why we are ATG, old or new, full projects or colorings alone 🙂 It’s been eons since I’ve done an ATC, and I would love to say that I’d planned on making this into one right from the beginning, but, I’d be lying, lol. I printed this Wisteria Fairy image up and was surprised at how small it came out….oops. The version I used is the full version (goodbye eyesight!), found in the Gardens and Goddesses vol. 1 coloring book….I’m not seeing the book listed (however, I’m sure that Mitzi would be glad to get it up for you, if you reqested it!). Although the book isn’t listed, you can find the simple version of this lovely fairy HERE at the Aurora Wings Digi Shop, or HERE at the Etsy store. I colored the image with my Copics, adding a bit of Wink of Stella to her wings for some sparkle.
I didn’t know what I was going to do with the image, until I measured it, and found that it was just over 2.5″ x 3.5″!!! I trimmed about 1/8″ off and was set to go!! Because the image is so detailed, I wanted to limit what I embellished this with. I used a small dotted background stamp around the edges, inked the edges with the same black ink, and used some teeny stickers to add the sentiment. I wasn’t completely satisfied, so made a few tiny notches on the top on bottom, and strung a few beads on some black thread. Had to glue the beads down afterwards, to hold them in place, because I forgot to tie knots!! Lol. I forgot how much I loved creating these mini pieces of art…..I used to make them often, when I was swapping online….and have an extensive collection (6,000+) of cards from artists from around the world that I received in trade.